Category Archives: designing

A return to calm in my sewing room

What a huge relief that this 84″ x 84″ top is finally done and out of my sewing room.

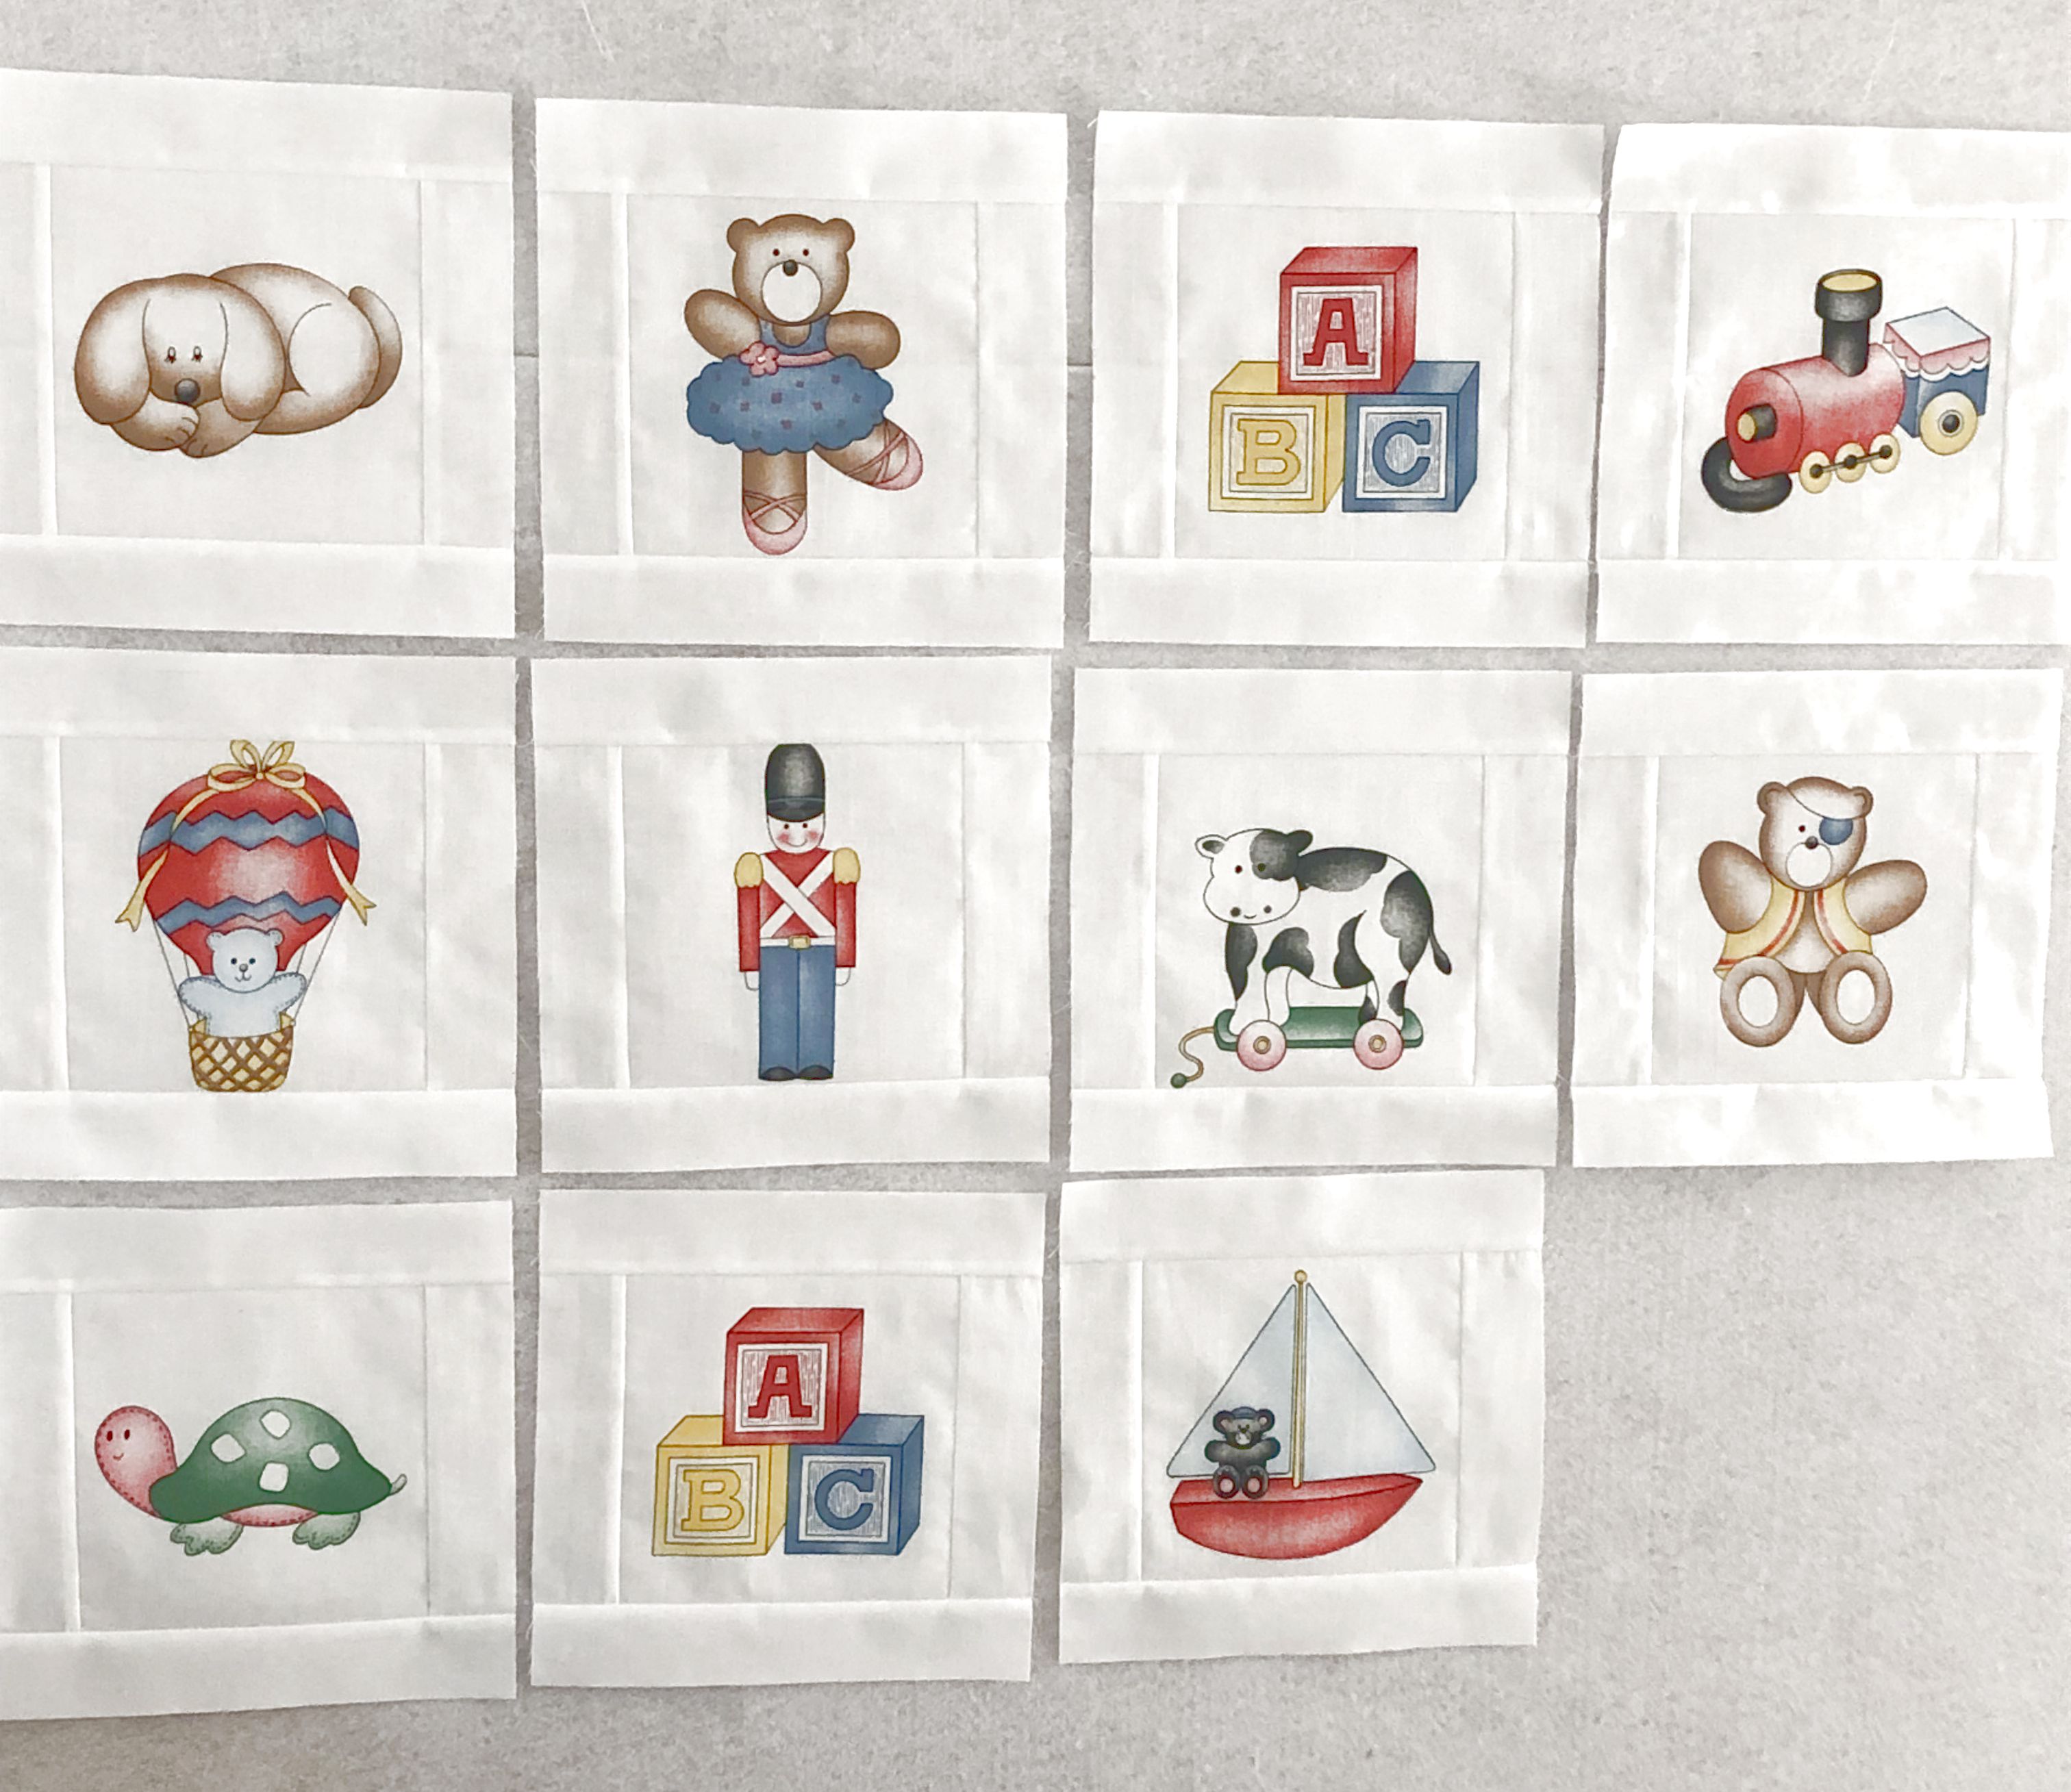
When a friend showed me 20 applique blocks she found in her mom’s house after she died, I jumped at the chance to figure out how to put them together. My blind enthusiasm and eagerness to help quickly disappeared once I took a closer look and discovered that the blocks were not all the same size and were not square. Uh-oh.

This project languished in my sewing room from late 2022 to early February this year in a one-step-forward-four-steps-back fashion: lots of thinking, lots of marking, lots of pinning, hand basting, sewing, ripping (including my hair), an intolerable number of conversations with John about the math and geometry, and incessant measuring. The brain damage was real.

Complicating progress was the secondary pattern that clearly was intended in the final layout, achieved by arranging the blocks with the green gingham bases facing each other to create a center square-in-a-square.

Unfortunately, the angle of the gingham bases was not a consistent 45 degrees, making it difficult to achieve true square. Close was the best I could do.

The yellow boxes highlight the difference in the width of the seam allowances on two sides.

Establishing a straight sewing line to create an acceptable looking square-in-a-square was a balancing act between having enough seam allowance and matching points.

Marking and basting before sewing didn’t always guarantee that the blocks would lie flat on the first try. Corrections usually created more trouble elsewhere.

Sashing was used to connect the four quadrants, with additional sashing to frame everything in my attempt to produce a finished center square. If I could get to that point, building out of the rest of the top would be easy.

I did my best to align the center of each quadrant with that of its neighbor, but the sashings measured different widths. It didn’t look great, but. . . . The measurement from the center of any given quadrant to the midpoint of any adjacent sashing was the same for all four quadrants. This was key to achieving a center that would be a true square.

One crazy issue cropped up when sewing the blue quadrant together. One of the blocks didn’t have enough fabric for a quarter-inch seam allowance so I had to create it.

Mostly out of fear, I took the precaution not to trim any of the seam allowances to one-quarter inch. To reduce bulk, I pressed open all the seam allowances forming each square-in-a-square. I kept thinking that if my friend didn’t like the finished top, at least I could take it apart and return all the blocks to her intact.

Also, if a seam allowance contained a selvage edge, it remained.

When the center was finally pieced and ready for the green border, there were so many markings on the wrong sides of the blocks and sashings, I ended up hand washing the center section to remove them before building out the rest of the top.

This project took forever because there were so many issues to work through that I would get frustrated and walk away for days, sometimes even weeks. When something you ordinarily love to do becomes more like a dreaded chore, shifting into avoidance mode is inevitable. In the interim, the guilt I felt when not working on it prevented me from sewing or quilting my own projects, so my quilting life has been a little strange these past 16 months.

Here are my three take-aways from this project:

  1. If hell were to freeze over, participation in a block exchange would still never be in my future.
  2. Quilting math is not difficult or mysterious when you can control it from the beginning.
  3. I have a profound regard for people who rescue unfinished quilts and blocks.

Thanks for stopping by!

Leave a comment

Filed under designing, piecing

Crib quilt

Here’s the quilt for the newest member of the family and part two of my previous post titled Legacy and Heirlooms.

It felt incomplete to hand down bumper pads and a crib skirt with no quilt, so I dug out the leftover nursery fabrics and scanned everything into Electric Quilt in preparation for creating a layout.

There was enough of the main print in the collection to feature prominently in the layout, although I was bothered about having to build out each fabric image to get to a 9-inch block size.

I was worried about having enough leftover background fabric from my mom to cut the strips for these blocks. Thankfully, there was, but just barely.

Also disappointing was that the border dots around each image were not available on all the scraps so it wouldn’t show in the final blocks.

There wasn’t enough of the two coordinating prints to make a cohesive-looking layout, so

I revised it to incorporate solids into the chain blocks. But what about sashing color?

John suggested gray. Then it dawned on me that instead of gray, a taupe color would be perfect, picking up the taupe used in the bears and the dog.

Three of the five colors were in my stash,

but I had no taupe and could not find a suitable red – a trip to the quilt store was in my future. I wasn’t excited about having to buy more fabric, but I wouldn’t need much and besides, you can justify almost anything when it’s for a new baby.

I was lucky to find a one-yard cut of matching white in my stash for the chain blocks and border which, despite its diminutive size, had to be pieced in five places. It was close and cutting mistakes were not an option.

Chain block construction took a lot of time because of the one-inch finished square size and the fact that they were not strip pieced.

To conserve fabric, I eliminated seams in the corner units.

The backing fabric is the same multi-colored pin stripe I used for The Bias Tape quilt.

This project was heavily quilted to help it survive countless washings, tugging, pulling, bunching and dragging: in the ditch with the walking foot, followed by free motion quilting elsewhere. The clam shell motif was added to the image blocks; it was fun and easy to quilt and provided sufficient coverage.

Five-pointed stars were quilted inside the chain blocks.

I struggled with the border quilting, walking away from the project for about 10 days out of frustration. I had the perfect thread (the wrapper even says so), a 17-weight, 100 percent cotton variegated in primary colors from Superior Threads. Oh, the tension issues!

I wanted to use cream colored thread in the bobbin and tried 50-, 40-, and 28-weight, each to no avail. In the end, my sense was that the difference between the weight of the two threads was too large to ever resolve any tension issues. I begrudgingly loaded a bobbin with the variegated thread and finished the quilting. I wasn’t thrilled with the way it looked on the back, but baby needed variegated thread! so I had to make it work.

I’m pleased to add my contribution to the crib set that my mother made 30 years ago. I truly hope that the quilt becomes a favorite and will be used and loved. If not, maybe it will become a favorite for a little someone in the next generation.

Next: Crib sheets

2 Comments

Filed under designing, Electric Quilt, machine quilting, piecing, thread

In the green zone

Last November around Thanksgiving, I got a hankerin’ to tame the green and cream scraps in my stash. Six months later, two new scrap quilt tops emerged. The first one has more than 96 unique green fabrics and at least 70 creams.

The original plan was for a 7 x 8 setting, but while raiding my green stash in an effort to use as many as possible, I lost count while cutting and ended up with more 2” squares than needed. Round two of cutting followed and the top grew to 8 x 8.

Making 64 25-patch blocks became monumentally tedious but the result was worth it. Below are close ups of a few of the blocks so you can get an idea of the variety of prints in this top. I chose mostly medium and dark green prints with a few lights and brights thrown in. Traditional prints dominate the mix, but I also included some contemporary, vintage reproduction and landscape prints to add interest. I even fussy cut a couple of patches.

Do you have any of these fabrics in your stash?

As I worked on this top, I depleted several green fabrics that had been in my stash for years, some acquired 20 years ago. While depletion was the goal, the thought of not having any more of those specific greens made me a little sad. Does anyone else get this feeling when they use up the last of a fabric?

My intention for making this was to give it away, but as it was being sewn together, John’s interest in it grew – a lot. For several years now, he has been asking for a bed sized quilt with wool batting, so it will go to him.

This is the second top:

It’s from a simple, but super cute pattern which can be found here:

I modified my version by using 6-inch squares rather than charm squares because I wanted a bigger quilt without having to cut a whole bunch of extra patches. I also did something I never thought I would do which is to combine a batik with regularly printed fabric. Using white or off-white for the setting squares and 9-patch blocks didn’t look right but I wasn’t sure of a substitute color or print. As I was wandering around this little shop about a mile from my house, I spotted this batik.

Out of desperation and to appease John who was with me that day, I tentatively pulled the bolt off the shelf because he has always warned me against editing too soon. Still, I was certain it was a reject. What happened instead, as I laid out the green print squares I had brought with me, was that the top came to life in a way I hadn’t anticipated. John and I looked at each other and all I could say was, “Crap! You are always right!” We laughed and walked out the door with four yards.

The setting triangles presented a challenge. Even though I had a healthy supply of green yardage in my stash, I hoped that at least ONE would be the right green, as I really didn’t want to go shopping for it. After emptying an entire dresser drawer of green fabric, these were the final options:

The winner was an RJR Jinny Beyer fabric from 2005-2006 (bottom right).

The backs for these quilts are also scrappy, but I’ll save that for another post. Thanks for stopping by. Happy scrappy quilting!

2 Comments

Filed under designing, piecing

A milestone in plaid

Sometimes you just have to step back to gaze at your work product

and bask in the satisfaction of what you’ve accomplished, like 63 plaid star blocks. Here are the last two blocks:

If this quilt never gets finished, I will still be happy about finishing 63 blocks with all those bias edges.

With block construction done, it was time to arrange the blocks and decide whether to keep them oriented the same way or to mix them up by rotating them. John convinced me to step outside my comfort zone of neat and orderly and rotate the blocks.

As I worked on the setting, we both agreed that turning them in different positions helped to emphasize the colors and plaid patterns in each block.

All the sashing strips were cut from this red and khaki woven:

A bad case of project burn out surfaced after completing three rows, so it’s back in the closet for now, but I’m still exhilarated about having reached the first construction milestone for this project.

Leave a comment

Filed under designing, piecing

Distraction and triangle confusion

I’ve been very distracted lately, so progress on my spring quilt is somewhat stalled. When I finally mustered a small bit of attention span to work on it last week, I realized a serious cutting mistake which needed correcting. Fortunately, I wasn’t too far into it, so things were salvageable.

The original layout was a straight horizontal set

quilt9

featuring this block called economy:

economy block

To reduce the number of seams, I converted the layout to an on-point set

quilt11

consisting of square-in-a-square blocks alternating with 4-patch blocks.

sq-in-sq block

4-patch block

When I printed the rotary cutting instructions for the pieced setting triangles featured in the on-point layout, this was what Electric Quilt generated:

cutting1

The diagram shows the white triangles as half-square triangles, and despite my funny feeling about that, I proceeded to cut two or three squares in half and position them on the design wall. In a flash, my funny feeling became full-blown realization: half-square triangles are used to finish the corners of diagonally set quilts; I needed quarter-square triangles for the setting triangles. (Can you tell I’ve made very few on-point quilts?)

Sewing half-square triangles into the pieced setting triangles would result in a bias edge the entire perimeter of the quilt top (before borders). This top would stretch out of shape so fast, it wouldn’t be worth the bother.

So why did the EQ instructions call for half-square triangles?

EQ allows you to position a block in every other space of your layout by pressing the ALT key. This means the software reads all those partial blocks (like the one highlighted in green, below) as 4-patch blocks.

quilt setting triangle

The triangles that are visible in the layout are therefore assumed to be half-square triangles.

To confirm this, I checked the cutting instructions for the horizontal set layout made with the economy block.

quilt block selected

Sure enough, there was the diagram for quarter-square triangles.

cutting2

This reminds me of a conversation with our boys many years ago when they were complaining about having to learn to spell. They didn’t see the point—isn’t that what spell check on the computer is for? They were so disappointed when I reminded them of all the homonyms in the English language and pointed out that the computer doesn’t distinguish between words like there, their and they’re, so you have to know how to spell and when to use all three.

I’ll be applying that same logic when reviewing cutting instructions for the setting triangles in on-point quilts.

Leave a comment

Filed under designing, Electric Quilt, rotary cutting

Anatomy of a quilt design

I am not an artist. I have no formal art training and never considered myself to be one of those right-brain creative types. I love reading interviews of quilt designers and their explanations about how they create—what inspires and stimulates them—from nature, to childhood memories, to the shops they frequent, to the vacations they take, to the toys they played with, to the things they read and even their home furnishings. You learn about how they keep sketchbooks and a camera handy at all times or that they have a special collection in their home that kindles ideas. They have that inner “thing” that eventually culminates in a wonderful design.

In no way do I relate to any of that; I lack that inner “thing.” I just want my design to look good, use up my stash, and be doable.

So it felt weird to be asked to design a quilt back in 2010 when I worked at a local quilt shop, but after that first one came another and another. I have no idea how or why—no deep and meaningful explanations like the designers in the magazines point to—they just happened. Now my EQ7 file is stuffed with electronic sketches, and I wonder about my personal design experience often; I mean, who knew?

One of those ideas is for a spring quilt which got its start when I visited Rhonda in January. We spent a lot of time paging through some quilt books her aunt found for her at a yard sale for one dollar apiece. A project in one of the books featured this cool block:

block1

It consists of a 10″ center square surrounded by 16 flying geese units and eight half-square triangles. It’s a whopper at 20″ square.

I seriously considered this block, as the flowers in my focus fabric are large and would probably look good framed in this way. I scanned all the fabrics, colored the block with them

pink

yellow

and plugged the block into a layout:

quilt1

Epic failure—no explanation needed.

Maybe it needs sashing.

quilt2

Better, but not enough for me to like it. How about on-point?

quilt3

The blocks don’t look right.

A smaller quilt with fewer blocks might be the answer, but I had plenty of fabric and wanted to use as much as possible. I turned to my new (used) block book purchased during my Houston trip,

1001 Patchwork Designs book

found this block

block2

and plugged it into a layout:

quilt4

Okay, this is better, but it needs an interesting border:

quilt5

The border’s looking good. What if I added sashing and cornerstones?

quilt6

Ick. However, I like the additional green. What if I put green in the border?

quilt7

I like it, but don’t have enough green fabric.

What about using green only in the border corners?

quilt8

Great, I still don’t have enough green and now I don’t have enough of the small floral.

I changed the setting from 4 x 4 to 3 x 3 and put pink roses in the border’s corner squares.

quilt9

Now all I saw were unnecessary seams, which I hate. I realized that those seams could be eliminated if the top was pieced in diagonal rows, with the flower blocks being constructed as square-in-a-square blocks and alternating them with 4-patches, eliminating the need to work with whole lot of triangles, like this:

quilt10

And that’s my brutish, unrefined approach to design creation—mashing it around digitally until something pleasing emerges that also fits with my stash. Although, I confess to seeking and finding additional green to use in the corners. Don’t you hate it when you’re a half yard short?

18 Comments

Filed under designing, Electric Quilt